MY SWEET FAMILY

MY SWEET FAMILY
spending time on the lake

Monday, November 9, 2015

I like to think of it as Thrift Store Emily Ley

So I'm going to share a little secret with you... Did you all go check out The simplified planner by Emily Ley?  If you didn't now if the time, head on over to her website and go fall in love with her planner because you will.  Then return to my blog for something fabulous...Seriously go check it out then come back.  If you don't fall in love with the set up of her planner I'm not sure if we can be friends. 

Ok, so isn't it so pretty and functional but you couldn't buy it could you?  I don't blame you I can't drop $60 bucks that quickly either.  There is an alternative and I think you will like it.

Emily Ley has a ton of FREE, yes I said FREE Printables. For the most part they are the same thing you find in her planner just no dates on them.  
Here is a sample of what her daily planner looks like (undated)

So you do a little work (because Emily already did a lot of work) and you can afford your dream planner (minus the printed dates).  Plus there are a ton of other printables that you can use for other life planning moments.  

Sunday, November 8, 2015

Perfect planner where are you??

I shared yesterday about my quest for the perfect planner. Now keep in mind when I am on the quest I have to consider how much ink is going to be used while creating this beast perfect product. So in true frugal fashion I have created a completely black and white option.  The idea on these is that you can fill in the month and the date.

Daily Blank Planner Templates

If you are anything like me you need some color in your life so  a few options...
Print on colored paper 
Print on a subtly patterned paper
Use colored markers/pens/pencils
Use colorful stickers
Use Washi Tape

Once again please don't sell my work.  Simply share a link to my post or my blog and we can all be happy.  I share with you, you share with your pals!

Here are the links for download...


Saturday, November 7, 2015

I'm obsessed

So I have long had an obsession with Planners.  I can think back to High School, my parents bought me a Franklin Covey planner and it hasn't stopped since then.  I can recall in College I was the worst planner slut on the planet, I would buy a planner use it for a month and then buy another one that was clearly an upgrade from the previous.

Now my current position has required that I stay with a planner for it's lifespan so I feel like I'm married to each planner when I buy it and this causes me to spend a considerable amount of time deciding just which planner to "walk down the aisle with." (pun completely intended!!) 

Back in May I was in a bit of a predicament, I bought a planner but didn't love it, bought another one and gave it away.  I couldn't commit, I knew I would be spending the next 12-13 months of my life with my choice and I couldn't do it. Sometimes I question how I ever got married.  So I decided I'd search for a DIY printable planner that I could fall in love with and download.  Pipe Dreams, that is all it was, I could not find what I wanted.  So I took to Photoshop and made my own.
current planner in action


Now I'm approaching December and I only made the planner above for June-December so I decided I would be proactive.  I would start early so I could search and research the hell out of planners until I found Mr. Right.  In my mind if I start early enough I will find what I want and I will commit, so far that is only in my mind.  I have spent numerous hours trying to figure out just what planner I'm going to spend 2016 with,  I got some help from Kayse Pratt after I read her post an Ultimate Planner Review.  I really love the Simplified Planner by Emily Ley but my frugal heart needed CPR after I saw the price.  This was the same problem I faced when starting to fall in love with the Erin Condren's Life Planner.  No matter how gorgeous these planners are I could not pull the trigger, I know a ton of work goes into these planners but I couldn't (at least right now) spend upwards of $50 on a planner.  I was also still caught between do I want a daily planner or weekly planner?  See told you I can't commit.  So I have once again gone to the drawing board using my trusty friend Photoshop and have designed one option in a few colors. I'll post them below and you can help your self to them.  I felt like I had to accomplish something so I went with a generic (in terms of the date) because I'm such a commitment failure I couldn't even commit to making them for the full year.  Sad Day Huh!

This is the magenta planner template, all colors are linked below for your downloading pleasure


These are designed to print on 8.5 x 11 size paper.

Please be kind, don't sell my work, I'm kind enough to share with you so just share with others by linking to this post or my blog.

Friday, September 28, 2012

Felt Flowers Ring DIY

So lately I've grabbed an addiction to felt! Now there are a million different felt flowers you can make and many of them will look great on a ring. This just happens to be one I had already used my Sizzix Big Shot to cut out.  Call me lazy?  (Hey don't call me lazy I'm writing this tutorial damn it!  Your just sitting on the couch reading it!)
If you don't have a Sizzix you can find the pre-cut pieces here.

Start off with your die cut piece of felt.  I used the Sizzix 3d flower die. This is what it looks like straight out of the die cutter (is that really what it is called??).


Results from Die Cut
Once you unravel your perfect die cut it should look something like this. A long scalloped piece.
Die Cut Unrolled
Now there is really no right or wrong way to roll this up.  I tend to be a little glue happy so here is how I do it.  I put a dot of glue on the very end and then fold it over.  Then you will see there are, what I refer to as, points. Give each point a dot of glue and wrap.  I do a few dots at a time, wrap it around then a few more dots.

First Fold (Top view)


First Fold (Front View) 

This is what your front will look like...


Finished Flower

This is what the back should look like... 
I put a dollop of glue and press the last little circle down.  If you don't use a die cut piece of felt you can always cut a circle of felt and glue it to the bottom for a finished look.
Finished Flower (Bottom View)

Here is my ring blank...of course I sell them on my website, and my Etsy.  Unfortunately I don't' keep up with either of those as well as I should so you can always email me and tell me you want some.
Filigree Ring Base

You simply glue your felt flower to your ring base.  This go around I used Hot Glue as I have recently heard it will hold up.  I have also used E6000, but it takes much longer to dry. I typically place the ring on my finger so I'm sure to get the flower centered, but even that leads to a fail a good portion of the time. Of course you can make any variety of felt flower to put on your ring.
Finished Ring (Side View)

Finished Ring

 
Finished Ring

Happy Crafting everyone!

Sunday, September 23, 2012

DIY HAIR TIE...Made from Fold Over Elastic

So I figure why waste any time?  I should just get busy writing tutorials right?  

So a little back story...when I found out I was prego with T,  I decided we would cloth diaper, I would make all the diapers and I would be a better person for it! I bought everything I needed including a Serger (OK my dad bought that for me) but I bought PUL, Fold Over Elastic, Velcro, Snaps...the whole nine yards (Literally I am sure I bought well over 9 yards of fabric).  At any rate I later decided that I didn't have to be a better person and it was just too much.  I purchased some cloth diapers from a local friend, Goldie at Butzie Covers and I bought a bunch of G Diapers.  In order to fund the purchase of all these cloth diapers and g's, I sold some items that were pricey.  I didn't sell everything, I hung on to the Fold Over Elastic (here on out we will refer to it as FOE). I knew I would make something with it some day! (today is that day)

SKIP TO HERE IF YOU DON'T GIVE A RAT'S ASS ABOUT MY BACK STORY

So I have a trendy friend at work, that came in one day with a super cute hair tie that she just "loved".  She explained how it didn't leave that famous "pony tail crease" in your hair and well it was just a must have accessory.  Of course the craftaholic in me took one look and said "how much did you pay for that?"  I'm pretty sure her response was so outrageous I quickly dismissed it because well it was outrageous. So I said (like I way too often say) "I can make that!  No I really can I have the FOE at home!" Don't believe me that the price is outrageous take a peak here...Trendy Shop

SKIP TO HERE IF YOU JUST WANT TO KNOW HOW TO MAKE THE DAMN THING ALREADY

Before you start gather your materials... 

(or as we go...if you work like I do!!)

Scissors...not the crappy kitchen scissors these bad boys need to be sharp
FOE...I bought my original stash from a yahoo group buy but I just purchased more from an Etsy shop ElasticByTheYard reasonable prices and super easy to work with.
Lighter...not mandatory but I'm a ribbon junkie and I hate frayed edges!
Ruler...you can do it without a ruler if you can't find one.

MATERIALS
 
STEP 1: I start by measuring my FOE, I have found 10-13 inches works best.  It really depends on the angle of the cut on the end and how much you leave as a tail after the knot.  If you don't have a ruler, wrap the FOE around your wrist and leave a few extra inches, I know your thinking how do I know what a few inches looks like I don't have a ruler.  
Just leave a little extra to allow you to tie it. 
STEP 1
STEP 2: I like to cut my ends differently each time, probably because I don't like to commit to one style!
You can cut them straight or at varying angles! I just suggest you cut both ends the same, for a more professional look.
STEP 2

STEP 3: Then I take a lighter to the ends to give them a quick singe/seal.  Now...no pics of this step because lets face it I would easily burn the house down if I tried to take a pic. 

STEP 4: Then decide what side you want to "show" I usually go with the shiny side. Leave the soft plush padded side on the inside. Fold the piece of FOE in half and line up the ends.
STEP 4 (shiny side out)
STEP 4 (with ends lined up)

 STEP 5: After everything is lined up tie a knot.  There is no wrong way just try not to pull on the actual ends or it will encourage fraying.  

STEP 5 (the knot before I pull it tight)
I pull...and pull... and pull some more trying to avoid the very edge, please keep in mind I am taking these pics myself.  Why don't I ask the hubs to help??  He is far too busy on the couch watching what sounds like a man film with cars squealing and men cursing!


STEP 5 (I'm pulling by holding close to the knot)
STEP 5 (knot is still to big...pull)
STEP 5 (knot looks nice and tight)
 
Once you pull it tight that really is the end of it. Go ahead put it in and see what you think!
 

My Model
  
Lots of the "cool kids" are wearing them as bracelets also not just hair ties!


I'm Back!!!!

She is upset I forced her to let me take a pic!
So I realize it has been a while since I posted!  Lots has changed in our world and well to be honest I'm much busier than I used to be!  The upside to this is I'm less busy with craft shows but still love to craft and thought I should go ahead and share some tutorials with everyone.  Now let me start by saying, I can't go longer than 10 minutes without my phone, I'm a social media addict. Twitter, Facebook, you name it I love it! So you see all my pics will come from my lovely iphone, as long as it isn't dead! Lets face it I don't even know where a real camera is since I haven't used one since the iphone came into my life!  

Let me know what you want to learn to make or what you want to know about me and I will do my best to get you an answer!

Side note, I also have a very lively almost 4 year old running around, right now shes handing me a token of her love for me (it is yellow and came form her nose). :) I know I'm so lucky!

Friday, September 10, 2010

Rain Rain Go AWAY!

I have been thinking about the rain today.  We always say "We need some rain" and then when it comes we say "I wish it would stop raining."  Silly us we can't make up our minds.  Days like today make you want to curl up in bed and watch a good movie.  Well no rest for the weary here!  I have been a busy busy bee!  My to do list for today includes uploading the rest of my image sheets to my website.  Getting some orders together to ship out and hopefully starting to write my next magazine article!  You are all going to love my next how to!  It is a felt flower topiary!  Easy yet beautiful!  


Because today is a rainy day be sure to use the code "RAINYDAY" on my website for $1.50 off.  You can get your self a free image sheet with that code.  If you are not purchasing anything just using the code you will need to check out via phone order.  The website is snugabugz.com and the images are in "The Boutique"


Thanks for visiting and I'm sure I will be posting pics from our weekend adventure 
Hint: LSU FOOTBALL!

Wednesday, August 18, 2010

Ribbon Flower HOW TO!

One of the ladies on a Yahoo group I am a member of was wanting to know how to make these very cute ribbon flowers.  I have been trying to find a use for small pieces of scrap ribbon and so was born this how to!


CHOOSE YOUR FLOWER SIZE:  The only cute center I had on hand was a 1 inch cover button so I opted for a 2.5 inch flower!


CUT YOUR RIBBON PIECES: I am using 3/8 inch grosgrain ribbon. I opted for 11 petals so I started by cutting 11 pieces of  Fuschia 2.5 inches long, then 11 pieces of Dark Purple 2 inches long and then 11 pieces of turquoise 1.5 inches long.  Now you have all these crazy pieces of ribbon lying around!  You could use a wood burner to cut your pieces and seal them in this step.  I have a little one and usually can't use my wood burner so I substitute a lighter later on!
STACK YOUR RIBBON PIECES: Take one of each color place the longest piece on the bottom and stack.  My stack looks like this...fuschia, dark purple and turquoise.  Then fold each piece in half so all the ends match up. I then take my lighter and heat seal all the edges at once.  This is a simple step, just run the lighter along the ends of the ribbon until you see some melting action happen!  Once you see the ribbon melting you have sealed the edges!


SEW YOUR RIBBON PIECES: Now get that needle and thread ready.  I use upholstery thread because it's stronger than regular thread and it's what I have on hand since I use it to sew all my bows!  Simply run the needle through the base of the ribbon stack and tie it in a knot a few times.  Now you have your first petal!  Now make the rest of your petals.  I made 11 for my given flower!
ASSEMBLE YOUR PETALS:  With needle and thread ready, tie a knot at the end of your thread, I like to leave a good bit so it makes tying the whole thing together easier.  Run your needle through the base of each petal, try to stay close to the middle of the base and close to the edge.  After you run it through all the petals, make sure you have what looks like a flower, you might have to flip some petals around.  Then simply pull the thread tight and tie a few knots.
Your flower should look something like this now!
ADD A BACK: I found a plain jane button and centered it on the back of my petals used some hot glue and added it.  It is a tad hard to see in this pic but it is there! Looking for a brown button!
ADD A CUTE CENTER: I flipped the flower over so the front was facing me and added hot glue to the middle blank spot of the flower.  I want to give it extra stability.  I allowed all this glue to dry then I added my center.  I got my bright yellow fabric covered button and hot glued it to the front. 

Now add your clip.  You can add whatever you want here: a pin back, an alligator clip, a small french clip.  Simply glue it to the plain jane button on the back. You're finished!  
Try some different lengths and different color combos and see what you can come up with.  The possibilities are endless.
As usual please don't mind the pics they were taken by me with my iphone.
I will be writing How to Articles for a local magazine so I will have a professional photographer, no more bad pics! YIPPEE!


Feel free to post pics of your creations or questions you might have!

Saturday, June 5, 2010

Get Crafty- Embellished Sunhat- Entry #7

This adorable sunhat is the perfect thing to shade your little princess from the hot summer sun! UPF 50 to protect from those harmful rays.  One size infant/toddler sunhat fits approx. ages 6 months-18 months. Adorned with ribbons, bows, and a monogrammed initial button securely sewn on.
--
Amy
www.facebook.com/lccreations
www.amyslccreations.etsy.com

Get Crafty- Ruffled Sweetie- Entry #6

A gorgeous Pillow Case Dress with matching ruffled bloomers.  An extra special touch is the matching Daisy Clip Sara is wearing!


Moira
Hairbows For Princesses
http://www.facebook.com/home.php?#!/pages/Hairbows-For-Princesses/244490865252

Friday, June 4, 2010

Get Craft- Posh Diva- Entry #5

A recent custom order for a sweet little girl named Stella. We went with a zebra, pink, and black theme for this Posh Lil Diva that came with a tutu, personalized tee, coordinating bling'd out leggings with bows, and a bling hair bow.
 
Melanie Martin
Dimples N Curlz Boutique


Get Crafty- Rock It Rose Zipper Flower Hair clip or broach-Entry #4

Zipper rosettes take girly and rock and mix it up. The industrial feel with the organic shapes of a rose makes me fall in love with accessories all over again.The possiblities of this rose is endless. Order it with a pin back and wear it pinned to a blazer, jacket, blouse, or sweater. Order it on a clip for a scarf, belt, or purse. Clip it into your hair or accent an updo.

Flower is conservatively sized, measuring about 3 inches in diameter

Wendy Turner
www.oing-oing.com
www.allaboutribbon.com


Get Crafty- Princess Outfit- Entry #3

Full outfit perfect for the true princess!  Wear all seperate for many different fun outfits!
Kufi Hat with attached bow or flower clippie.
Flip Flops with your choice of any of my bow styles and or bottlecaps.
Tutu made in your color choice as well as made to excat measurements.
Appliqued Shirts, made with any type of applique you could imagine!
Wear the complete outfit for holidays, birthdays, pictures, dress up, and more!
Angi Elliott
Bow~N~Bottlecaps
Accessories for the Whole Family
Custom Orders are Welcome!
Email: bowsnbottlecaps@att.net
Website: www.bowsnbottlecaps.weebly.com JOIN THE FUN!
Become a Fan: facebook.com/bowsnbottlecaps


Get Crafty- Big Girl Flops- Entry #2

These Flip flops are made to appeal to teen and adult customers! The roses are made with zippers! Very trendy!
 Keris's blog is www.mommiesthree.blogspot.com


Thursday, May 27, 2010

GET CRAFTY - DRR HEADBANDS- Entry #1


Double Ruffle Ribbon Headbands
These headbands are great for any little girl. The headband is 1 inch in width and it covered in Ruffle ribbon, layered with a matching grosgrian ribbon on top. A matching ruffle bow is attached as well.


www.courtneyskreations.weebly.com

www.zibbet.com/CourtneysKreations


Time to get Crafty!

I love to craft, maybe its an addiction or maybe I just enjoy the sense of accomplishment as I finish a project.  I don't know what the real motivation is but I know I have long been a crafty girl and still am today.  In fact just last night I had Taylor sipping away on some momma juice (breast feeding) as I crafted a pair of Breast Cancer Awareness Flip Flops.  I started when I was very young, being crafty, I can remember completing my first true sewing project in Middle School which was a vest (they were cool in the 90's).  I continued to sew and embroider, cross stitch do all kinds of creative things.  Today I tend to be found making bottle caps, bows, flip flops among other things.  

I want to know and see what you make.  Send me a pic of your finished project along with a brief description.  I want to have some guest bloggers and some tutorials on my blog so here is your chance to get your name out there and free easy advertising to get people to your website!  I will choose a winner at random and the winner gets a $10 gift Certificate to use on my website (snugabugz.com)

Now email your entry to me at snugabugzboutique@yahoo.com and in the subject line put Get Crafty!

Now-Go get Crafty!

Tuesday, May 11, 2010

What a Croc!

Want to score some cheap Crocs?

go to crocs.com
search prepair
choose your style (flip flops, slides or clogs)
choose your size and color
use code: PREPAIR1499 to take 14.99 off the price
Use Code: springfreeshipping to make shipping free!

Hurry before they are all gone!

I ordered the reasonable black and silver but those pink ones sure are cute!

Wednesday, May 5, 2010

Will come look there is water everywhere!

This was what I said to Will when we woke up Sunday morning.  I got up with the kids and he was still in bed.  I went to the front door to see what it looked like outside to see barricades to keep people off our street and water surrounding my neighbors house!

There is a sink hold/drainage pond across the street (behind the neighbors house) and it had over flowed into the street.  The street was barricaded to keep people out of the water!  Then I looked behind our house and there was a small pond in my parents back yard!

I hope to post a link to some of the devastation soon so everyone can see it!

Tuesday, April 27, 2010

2 Years of Wedded Bliss!

Well Will and I celebrated 2 years of wedded bliss yesterday (3 years total of being together).  If you know us you know I am using my sarcastic keyboard in typing that :)
We do love each other but it isn't the mushy awww how sweet love!  We are like brother and sister bickering!  New people at Quiznos have actually asked if we were siblings!  LMAO!!

We decided last minute to go out to eat.  We went to Casa Blanca I think its called. (the mexican place by hooters on Riverside!)

I am so excited for our trip to see Seinfeld Live in 2 weeks! Its only a short drive to Nashville but its like a mini vacation for us!

Wednesday, April 14, 2010

Getting Ready for Rivers and Spires Festival

Well I did a few shows as us crafty people call them.  I'm sure my husband has a different name for them probly something along the lines of Pain in the Ass Days!  At any rate they are festivals or events that have crafters whom sell the products they handcraft.  I decided to jump in feet first and get a booth at Rivers and Spires in Clarksville, TN this year.  So I have been steadily working and getting product ready, I thought I had enough but now I am second guessing myself.  This is a big festival for Clarksville with an estimated 33 thousand people in attendance last year.  It begins on Thursday and concludes Saturday night with the Headlining Charlie Daniels Band!  I am really excited that we should be close enough to hear the CDB play.  We will be located in the Artz Galore area up near public square.  Our Booth is A-44 should you want to check us out.  My Aunt Sherri is coming up from Florida to help me with the show and she has a few products of her own to sell!  I hope everyone will come see us and buy a few things.
The booth is Snugabugz Boutique~!

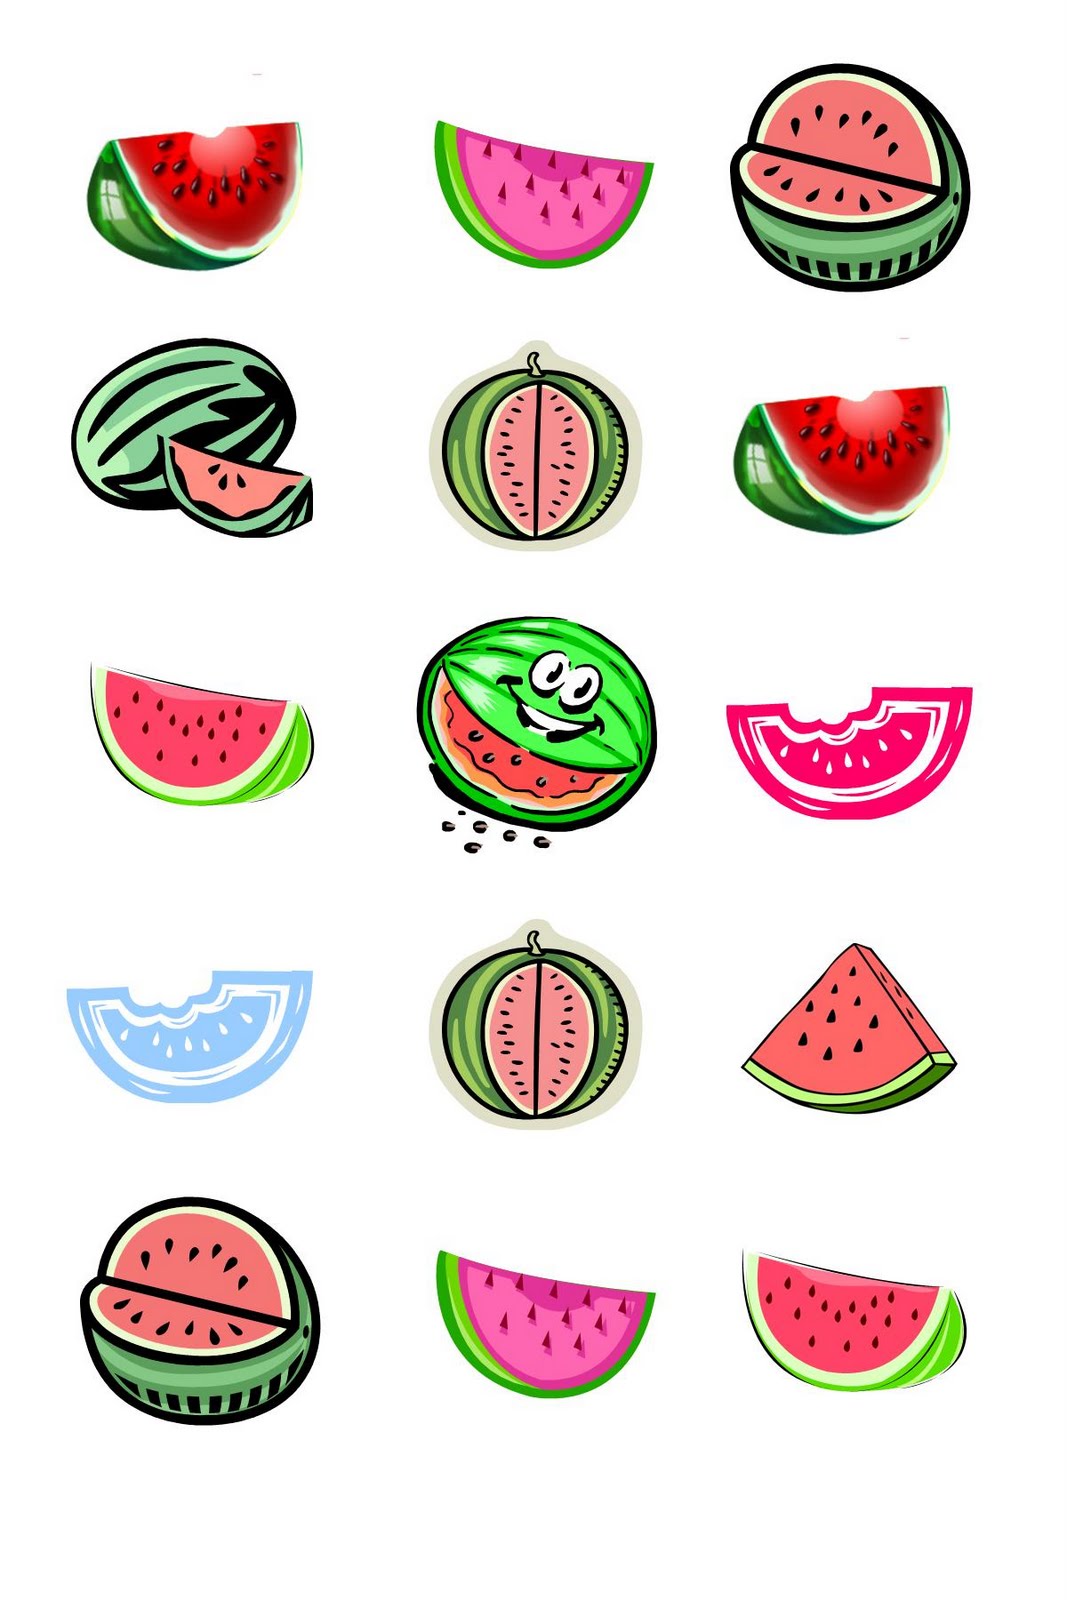
 Here are 2 Image sheets you can upload and have printed.  The Watermelons I chose because I love watermelon with salt on it in the Summer time.